If you’re developing in Android Studio and using the Gradle build system, this guide will help you get your Test environment up and running in just 4 steps. Before we get started, let’s take a look at what we will be adding to our project:
JUnit
JUnit is the standard unit testing framework for Java. We’ll add this to our project via the build.gradle file, which you will see in a minute.
JUnit is a very powerful tool, but one weakness is that it cannot be used to test any code that actually uses Android classes. This is because the Android library you compile against is a slimmed down version of the one that runs on your device. While this keeps the Development SDK lightweight, it poses an obvious problem for users that want to run tests without having to deploy to a device.
Robolectric
Robolectric is a library that injects the missing pieces of Android code, allowing you to run tests on your development machine. We will add this to our project via the build.gradle file as well.
Step 1 – Setup build.gradle
Here is a fresh build.gradle file from a new project:
buildscript {

  repositories {
    mavenCentral()
  }

  dependencies {
    classpath 'com.android.tools.build:gradle:0.7.0'
  }
}
apply plugin: 'android'
  repositories {
  mavenCentral()
}

android {
  compileSdkVersion 19
  buildToolsVersion "19.0.0"

  defaultConfig {
    minSdkVersion 14
    targetSdkVersion 19
  }
}

dependencies {}
Now let’s make a few additions. We’ll first add a new build type named unitTest, and then include our JUnit and Robolectric dependencies:
buildscript {
  repositories {
    mavenCentral()
  }
  dependencies {
    classpath 'com.android.tools.build:gradle:0.7.0'
  }
}

apply plugin: 'android'nnsourceSets {
  unitTest {
    java.srcDir file('src/test/java')
    resources.srcDir file('src/test/res')
  }
}

configurations {
  unitTestCompile.extendsFrom runtime
  unitTestRuntime.extendsFrom unitTestCompile
}

dependencies {
repositories {
  mavenCentral()
}

unitTestCompile files("$project.buildDir/classes/release")
unitTestCompile 'junit:junit:4.10'
unitTestCompile 'org.robolectric:robolectric:2.1.+'
unitTestCompile 'com.google.android:android:4.0.1.2'
}

task unitTest(type:Test, dependsOn: assemble) {
  testClassesDir = project.sourceSets.unitTest.output.classesDir
  classpath = project.sourceSets.unitTest.runtimeClasspath
}

check.dependsOn unitTestnnandroid {
compileSdkVersion 19
buildToolsVersion "19.0.0"
}
Step 2 – Add a Test
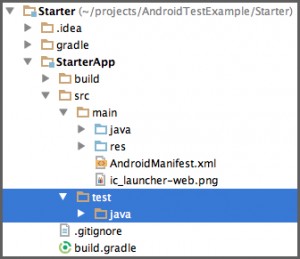
Do this by creating a <strong>test/java</strong> directory in the <strong>src</strong> folder:
Now let’s add our first test:
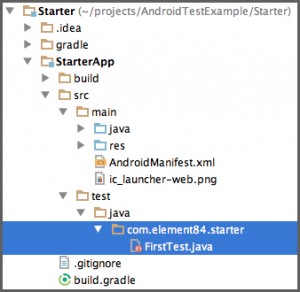
Code for FirstTest.java:
Step 3 – Run the Test
$ cd projects/AndroidTestExample/Starter/Then run
$ ./gradlew unitTestIf you receive a permissions error, resolve it with
$ chmod +x gradlewStep 4 – View the Results
The test results are viewable as an html file buried in your project’s directory

Get the code
You can Download a copy of this project from github
